Last week my boyfriend decided to bake a funfetti cake. Easy enough...just follow the instructions on the box, and in about 30 minutes you have yourself a cake. However, he decided that plain funfetti cake would not do, especially since he forgot to buy frosting. So instead of going back to the store or just eating the cake plain, he made a syrupy strawberry sauce using frozen strawberries. It only took him a few minutes to make, and it really dressed up the entire funfetti cake!
Here's how it's done: • Put strawberries in a pan on medium heat. • Pour sugar into pan over strawberries while stirring. • Continue stirring (and adding sugar, if you want) until the strawberries are soft. **Note: the whole process only takes about 5 minutes.
This entry was pretty short, but it's just a quick way to dress up a plain dessert! If you like it, try it out with other desserts like ice cream, or try cutting a hole in a cupcake and filling the inside with the strawberries! Now just drizzle some of the sauce over your cake, and pour the rest with the strawberries on the side and enjoy :)
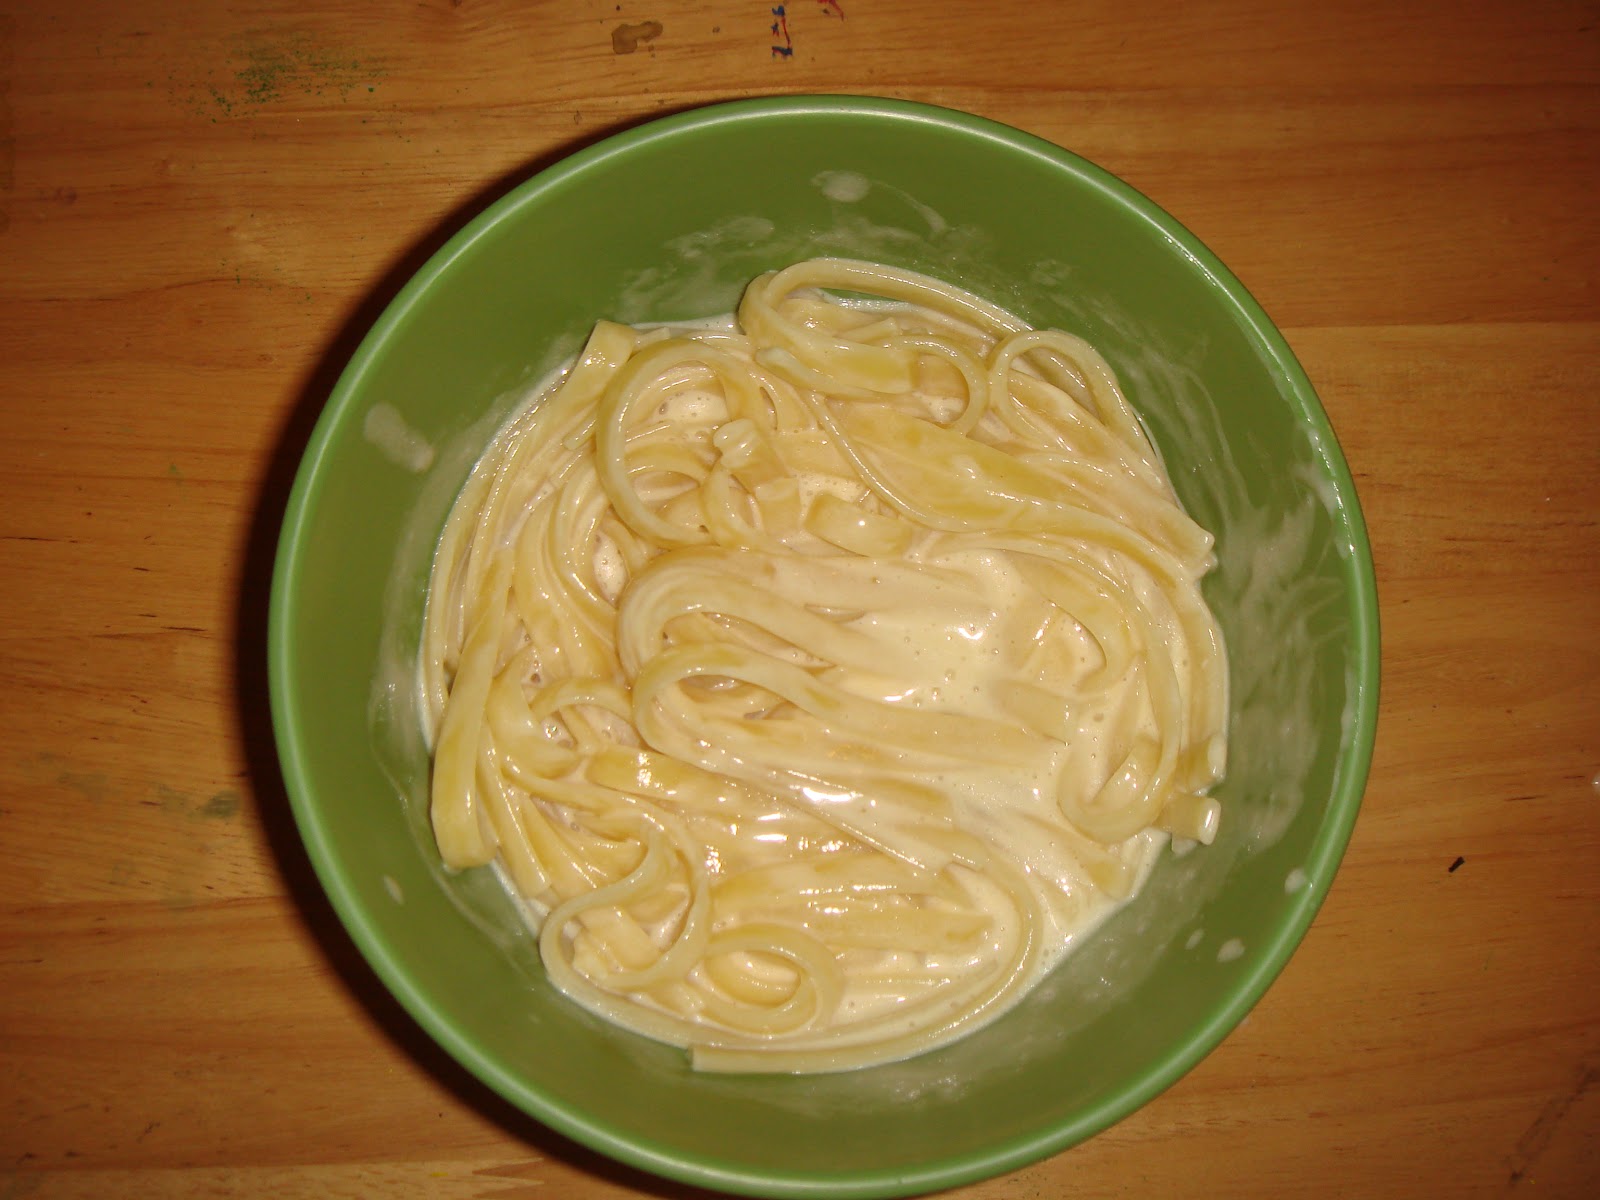
When I was little, fettuccini alfredo was my favorite thing to order at Italian restaurants. My boyfriend didn't have the same feeling about on my favorite dish, so when I brought him the recipe that I got from my boss he wasn't too willing to make it. One day last semester I was feeling sad, so he decided to surprise me and make the fettuccini for me...and now he loves it too! So maybe fettuccini was never your favorite dish as a child, but it's so simple to make that I definitely recommend trying out this recipe one night.
** This recipe makes enough for two people, but you can always double or triple the ingredients if you have more people to impress with your culinary skills!
Ingredients: 1 cup heavy cream 6 tbsp butter Fettucini pasta Salt
Here's how it's done: • In a medium sauce pan, melt the butter down. • Add the heavy cream and mix the two. • Let simmer for about 10 minutes, stirring occasionally. • Note: you want the sauce to thicken a bit before adding the pasta. • Another note: if the sauce appears too buttery, you can add some more heavy cream.
Meanwhile: • Bring water to boil in a pot large enough to hold desired amount of pasta. • Once water is boiled, pour penne in. • Cook for about 5-8 minutes, or until the pasta is as soft as you'd like it. • Strain immediately (pasta will continue to cook in the hot water).
And then:
• Once both fettuccini and alfredo sauce are are ready, combine them in the saucepan.
• Stir the fettuccini around the pan to make sure it all gets coated with sauce.
Like I said before, fettuccini alfredo is a really quick and easy dish, and it's perfect for a romantic night in or feeding all of your friends and family! You can even add grilled chicken or shrimp to the pasta if you like, both go well with the alfredo sauce. And as always, once you're done cooking serve up for food and enjoy :)
Last week my friends & I decided to have some fun with burgers with a little help from Food Network star, Guy Fieri. My boyfriend & I had previously seen an episode of his cooking show where he made inside out burgers so we wanted to try it out for ourselves. It's easier to have Guy explain it to you as he does it, so here's the clip from his show!
I stuffed mine with bacon & mozzarella cheese. My friend had bacon, mozzarella & onion in hers. My boyfriend & our other friend stuffed theirs with bacon, mozzarella, onion & peppers. If should be noted that when making the two halves of the burgers you shouldn't make two full sized patties, or you'll end up with a wambo burger like my friend.
Stuffing the burgers with bacon.
My friend's completed burger with bacon, mozzarella, onion & pepper inside, and tomato & lettuce on top.
To accompany our delicious inside out burgers, we used my boyfriends deep frier to make double-fried french fries (yet another idea taken from Guy Fieri). The trick is to fry the potatoes once, take them out & let them cool, and then fry them again to make them extra crispy. If you don't have a deep frier you can always pour a bit of oil into a regular pan (enough to coat the bottom & then some) and heat that up enough to fry your potatoes in there! It's almost the exact same as using a deep frier, just a bit more difficult to do.
Get creative with the "toppings" for your inside out burger! Be daring with your cheeses & test out different combinations of flavors. Stuff your burgers to your heart's content, cook your fries to a crispy gold brown & enjoy :)
Chili is a great dish because you can feed a lot of people easily or you can save it for another time if you're just cooking for you. The other night I (not my boyfriend this time - shocking I know!) cooked dinner for my friends. I decided to make chili because it's so easy - there are only a few ingredients and it all takes about 20 minutes to make!
**The recipe below is for two pounds of chili, but in parentheses I added what you would need to make only one pound.
Ingredients: 2 pounds of chopped meat (or 1lb) Adobo Two packets of sazón (or 1 packet) 3 8oz containers of Ortega Taco Sauce (or 2 containers) 1 can of red kidney beans Rice (or anything else you'd like to pair your chili with) Mexican cheese (if you like cheese)
Here's How it's Done: • In a medium pan cook the chopped meat thoroughly. Turn gas off once meat is fully cooked. • Strain the grease out and put the meat back into the pan. • Add the sazón and add some adobo to taste. Mix the seasonings around so they cover the meat as evenly as possible. • Open the can of beans, strain and rinse them, and add them to the meat. • Add in both containers of taco sauce and mix everything around. • Heat the chili over a low-medium flame for about 5-10 minutes, stirring occasionally.
Meanwhile: • In a small pot, boil water for rice. Once water is boiling, put bag of rice in the pot. Remove the rice when the water boils again (about 10 minutes).
While the rice and the chili are still hot, put some in your bowl and add the taco cheese. Mix the cheese around with the rice and chili so it melts and enjoy :)
When my boyfriend and I are too tired, lazy or busy to cook, we usually look to Simon's Deli for an easy take-out dinner solution. It's on the corner on Arthur Ave, right across the street from Mugz. Most people already know about it and have probably been there or ordered from it, but in case you haven't here are some pros and cons...
Pros: 1. The salad never has any brown pieces in it. I don't know about anyone else, but I almost always get some brown lettuce in my salads from The Grill. 2. For $7 you get a small salad (it's only $8 for the large), with unlimited toppings AND a bottle of water. The salad at The Grille is really big, but your toppings are limited (although I'm not sure the cashiers would know/care if you got extras), and you have to buy your drink separately. 3. For less than $8 you get any of their sandwiches on a hero, a small bag of chips and a bottle of water or can of soda. 4. With the unfortunate closing of Munchiez, Simon's is the next best thing because it's open late on most nights and the "Chubby Subbys" are close substitutes to the "Fat Sandwiches." 5. They always have special deals and raffles going on - follow them on Twitter!
Chicken from the Dirty South on a hero
Two small salads
Cons: 1. You can't use flex dollars at Simon's, so it costs real money. 2. You have to spend at least $10 if you want to use a credit card. 3. One of the employees tends to screw up orders (unless it's just me and for some reason my order confuses him). 4. I've never gotten Simon's delivered, but I've heard that they are very slow.
So if you're looking to avoid Sodexo for breakfast, lunch, dinner, or late at night, Simon's is definitely a great option. Their food tastes good, they have a lot of healthy options, they are reasonably priced and they are close to school =)
Do you love guacamole? Try making it yourself! Do you hate guacamole? Again, I urge you to try making it yourself! Some of my friends didn't like guacamole, until I made it for them. I actually hated guacamole until a few years ago, when I went to a Mexican restaurant in my neighborhood that made fresh guacamole in front of you. Homemade guacamole is infinitely better than the mush you get from a jar or from most restaurants. And the best part is, it's so simple!
Guacamole I made for the Super Bowl, with two avocados and no tomatoes.
**I don't measure the ingredients when I make guacamole, and I don't really think it's important to. You can add more or less of any ingredient depending on your preferences in taste. The pictures that accompany this post show approximate portions of ingredients that I used to make guacamole using only one avocado.
Ingredients: Avocado Fresh cilantro Small yellow or white onion Jalapeño pepper Lime Salt Tomatoes (optional)
Here's how it's done: • Cut open the avocado, remove the skin and pit. • Slice and mash the avocado in a bowl until it is mushy. Small chunks of avocado are okay, in fact they are preferred. • Finely chop some cilantro leaves. The stems are bitter and should be removed as best as possible.
• Finely chop some of the onion.
• Finley chop some of the pepper. The seeds are what makes it hot, so if you're not looking for heat, don't put those in!
• Now that the ingredients are all chopped and ready to use, begin adding them to the mashed avocado, one by one, and mixing them in. • The cilantro should go in first, because it is the most distinguishing factor between fresh and store-bought guacamole. **Be sure not to add all of what you have chopped right from the start! If you're unhappy with the flavor you can always add more of something, but you cannot take it out. • Add freshly squeezed lime juice. (About a quarter of a lime should do for one avocado.) • Add salt to taste. • If you choose to add tomatoes, they should only be added when you are ready to serve.
Once you master it and share it with your friends they'll be begging you to make guacamole for every occasion!
PS. When guacamole is left out for a while, like at a party, it can turn brown. Fear not! Add a bit more fresh lime juice, mix it up, and enjoy :)
I have night class on Tuesday nights, and I don't get out until 8:30. So I told my boyfriend that I wanted to order food from Bellini's (which I will be doing an entry on in the near future) instead of actually going out, because after class I would have needed to shower, do my hair and make up, etc. and it would have been 9:30 or later by the time we made it out to Arthur Ave. to go to a restaurant. He said okay to Bellini's, but instead he surprised me with this...
Clearly this photo has been edited, but the food wasn't photoshopped. I just wanted to cover up my boyfriend's somewhat messy apartment.
It's homemade penne alla vodka and homemade garlic bread! And when I say homemade garlic bread I mean homemade. He actually spent all day making the dough and baking and making the garlic dipping sauce to put over it. Also on the table is a bottle of [yellow tail] Bubbles Sparkling Rosé Wine. Even though it costs less than $10.00, it's still very good, as are many of the other wines that [yellow tail] has to offer.
*I'm only going to include the recipe for the penna alla vodka, because the goal of this blog was to give recipes for quick and simple dishes that any college student could prepare regardless of previous cooking experience. The garlic bread, while delicious, is very time consuming, and not something that an average college student wants to spend their day preparing.
Ingredients: 1 jar of marinara sauce 1 cup of vodka 1/2 cup of heavy cream Salt & pepper to taste Penne pasta
Here's how it's done: • In a medium sauce pan, combine the marinara sauce and the vodka. • Bring it to a simmer for about 20 minutes, while stirring sauce throughout that time. • Add heavy cream to pan and stir. Also add salt & pepper to taste. • Let sauce simmer for about another 10 minutes.
Meanwhile:
• Bring water to boil in a pot large enough to hold desired amount of pasta.
• Once water is boiled, pour penne in.
• Cook for about 5-8 minutes, or until the pasta is as soft as you'd like it.
• Strain immediately (pasta will continue to cook in the hot water).
And then:
• Once both the penne and the vodka sauce are ready, combine them in the saucepan.
• Stir the penne around the pan to make sure it all gets coated with sauce.
Put all the food on plates, set up your table however you like, and surprise someone you love with this wonderful homemade meal! Put on a favorite TV show or movie while you eat and enjoy :)